August in Clover
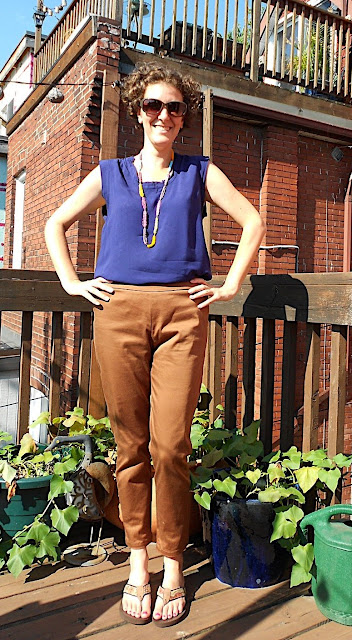
Well, hello there! I had the best of intentions, but August went by without a post! But not without some quality sewing time. Here we have them, my first Clover attempt!
I've seen a lot of this pattern around, and my hope is that it fills the J.Crew sized hole in my trouser wardrobe. Pre-Clover, my jeans collection ruled the roost, and while I still love them, I think it's time to branch out.

Now, I am pretty narrow in the hips, with not a lot of bum, and a very long rise. Off the rack trousers can be problematic, especially in the rise. By the time I get a waistband to do up over my hip bones, where most "mid-rise" pants hit me, there is inevitably an excess of fabric at the sides. In an effort to improve on that situation, here's what I did:
I cut a size 8, matching my hip measurement, for the legs, and a size 10 through to the waistband. My first mock-up was not bad, but there was room for improvement:

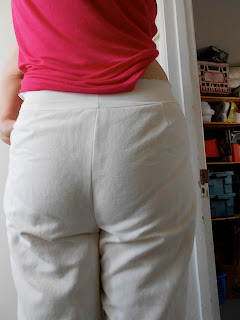
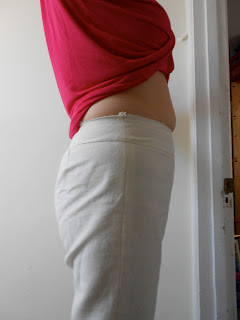
Hello swayfront! This picture may be a little muffiny, but it shows off my "problem" area. I had honestly never really noticed this one before, but as the photo below shows, my hips sit fairly forward. I turned to the Colette Clover Cheatsheet for help. I reversed the swayback instructions, using the back info for the front of my pattern & vice versa. I also scooped the back crotch about 1/2". I could scoop more in future, I think.

Since the front was sitting fairly flat, I didn't bother doing too much to it, but in future I'll be more generous, maybe that will help get rid of some of these crotch wrinkles!

My biggest issue was that even after all these adjustments, I still have extra fabric under my bum in the upper thigh area. Not too sure how I'll resolve that one.
 |
| Super wrinkly. I'm blaming part of this on being caught out in the rain the night before these were taken! |
Although when I move, they are less noticeable.
 |
| Just pretend I'm walking. |
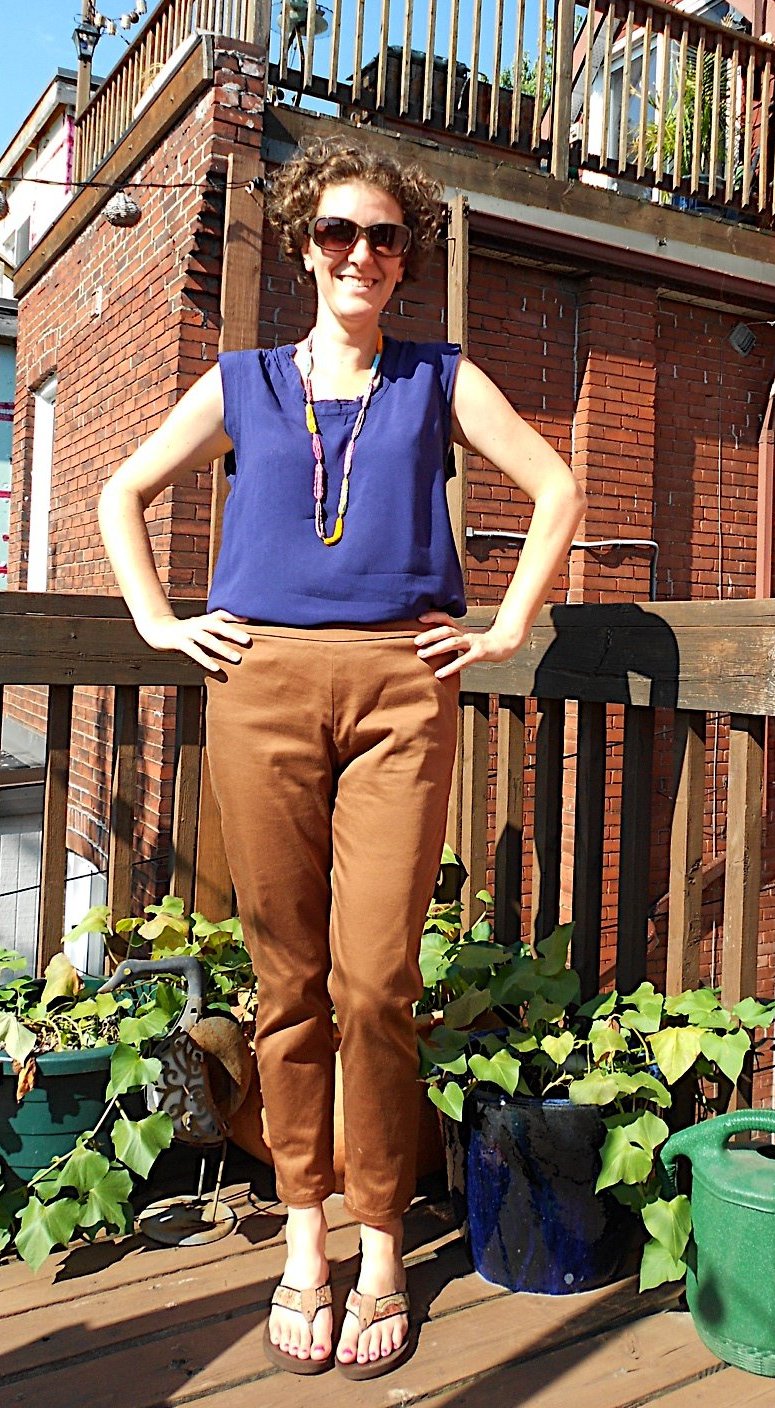
For my final version, I cut a size 6 through the leg, an 8 for about 4 inches through the hip, and stuck with the 10 for the waistband. All in all, I'm calling this one a success. Aside from the pattern adjustments, I'll definitely use a thinner fabric on my waistband facing next time, and use a button & loop instead of a pokey hook & eye at the top of the zipper. I omitted the pockets because they didn't seem useful to me. I've worn these to work a few times now, and I've even had a couple of compliments! This fall may see another pair on the horizon.


First, I think the pants look amazing. As for your comments on extra fabric in the back... I think you stand with almost over-straight legs which is why you get extra leg wrinkles when standing still whereas they look fine when moving. I used to do this too and my dance teacher put a stop to it (apparently it causes a lot of stress on your knee joints). Just check, next time you are standing, if you are locking your knees needlessly or not...Again, I think the pants look fabulous and I love the colour of that fabric.
ReplyDeleteThanks NL, I don't think I'm locking my knees, but I did scope out alot of backs of legs on the street, and I think some back leg wrinkles are generally unavoidable. That said, I'll still try and diminish them in future.
ReplyDelete